Install the CLI
The GAIA CLI (@heygaia/cli) is a terminal-based tool for setting up, configuring, and managing GAIA instances.
Install globally with your package manager:
Verify Installation
Requirements
- macOS, Linux, or Windows (WSL2 recommended)
- Node.js 20+ and one package manager (npm, pnpm, or bun)
- Docker installed and running
- Git installed
Upgrading
Updating GAIA
Pull the latest changes from your GAIA repo directory:Updating the CLI
Uninstalling
To fully remove GAIA from your machine:- Stop all running services:
- Delete the GAIA repository directory:
- Remove CLI metadata:
- Uninstall the CLI:
Next Steps
Commands Reference
See all available CLI commands
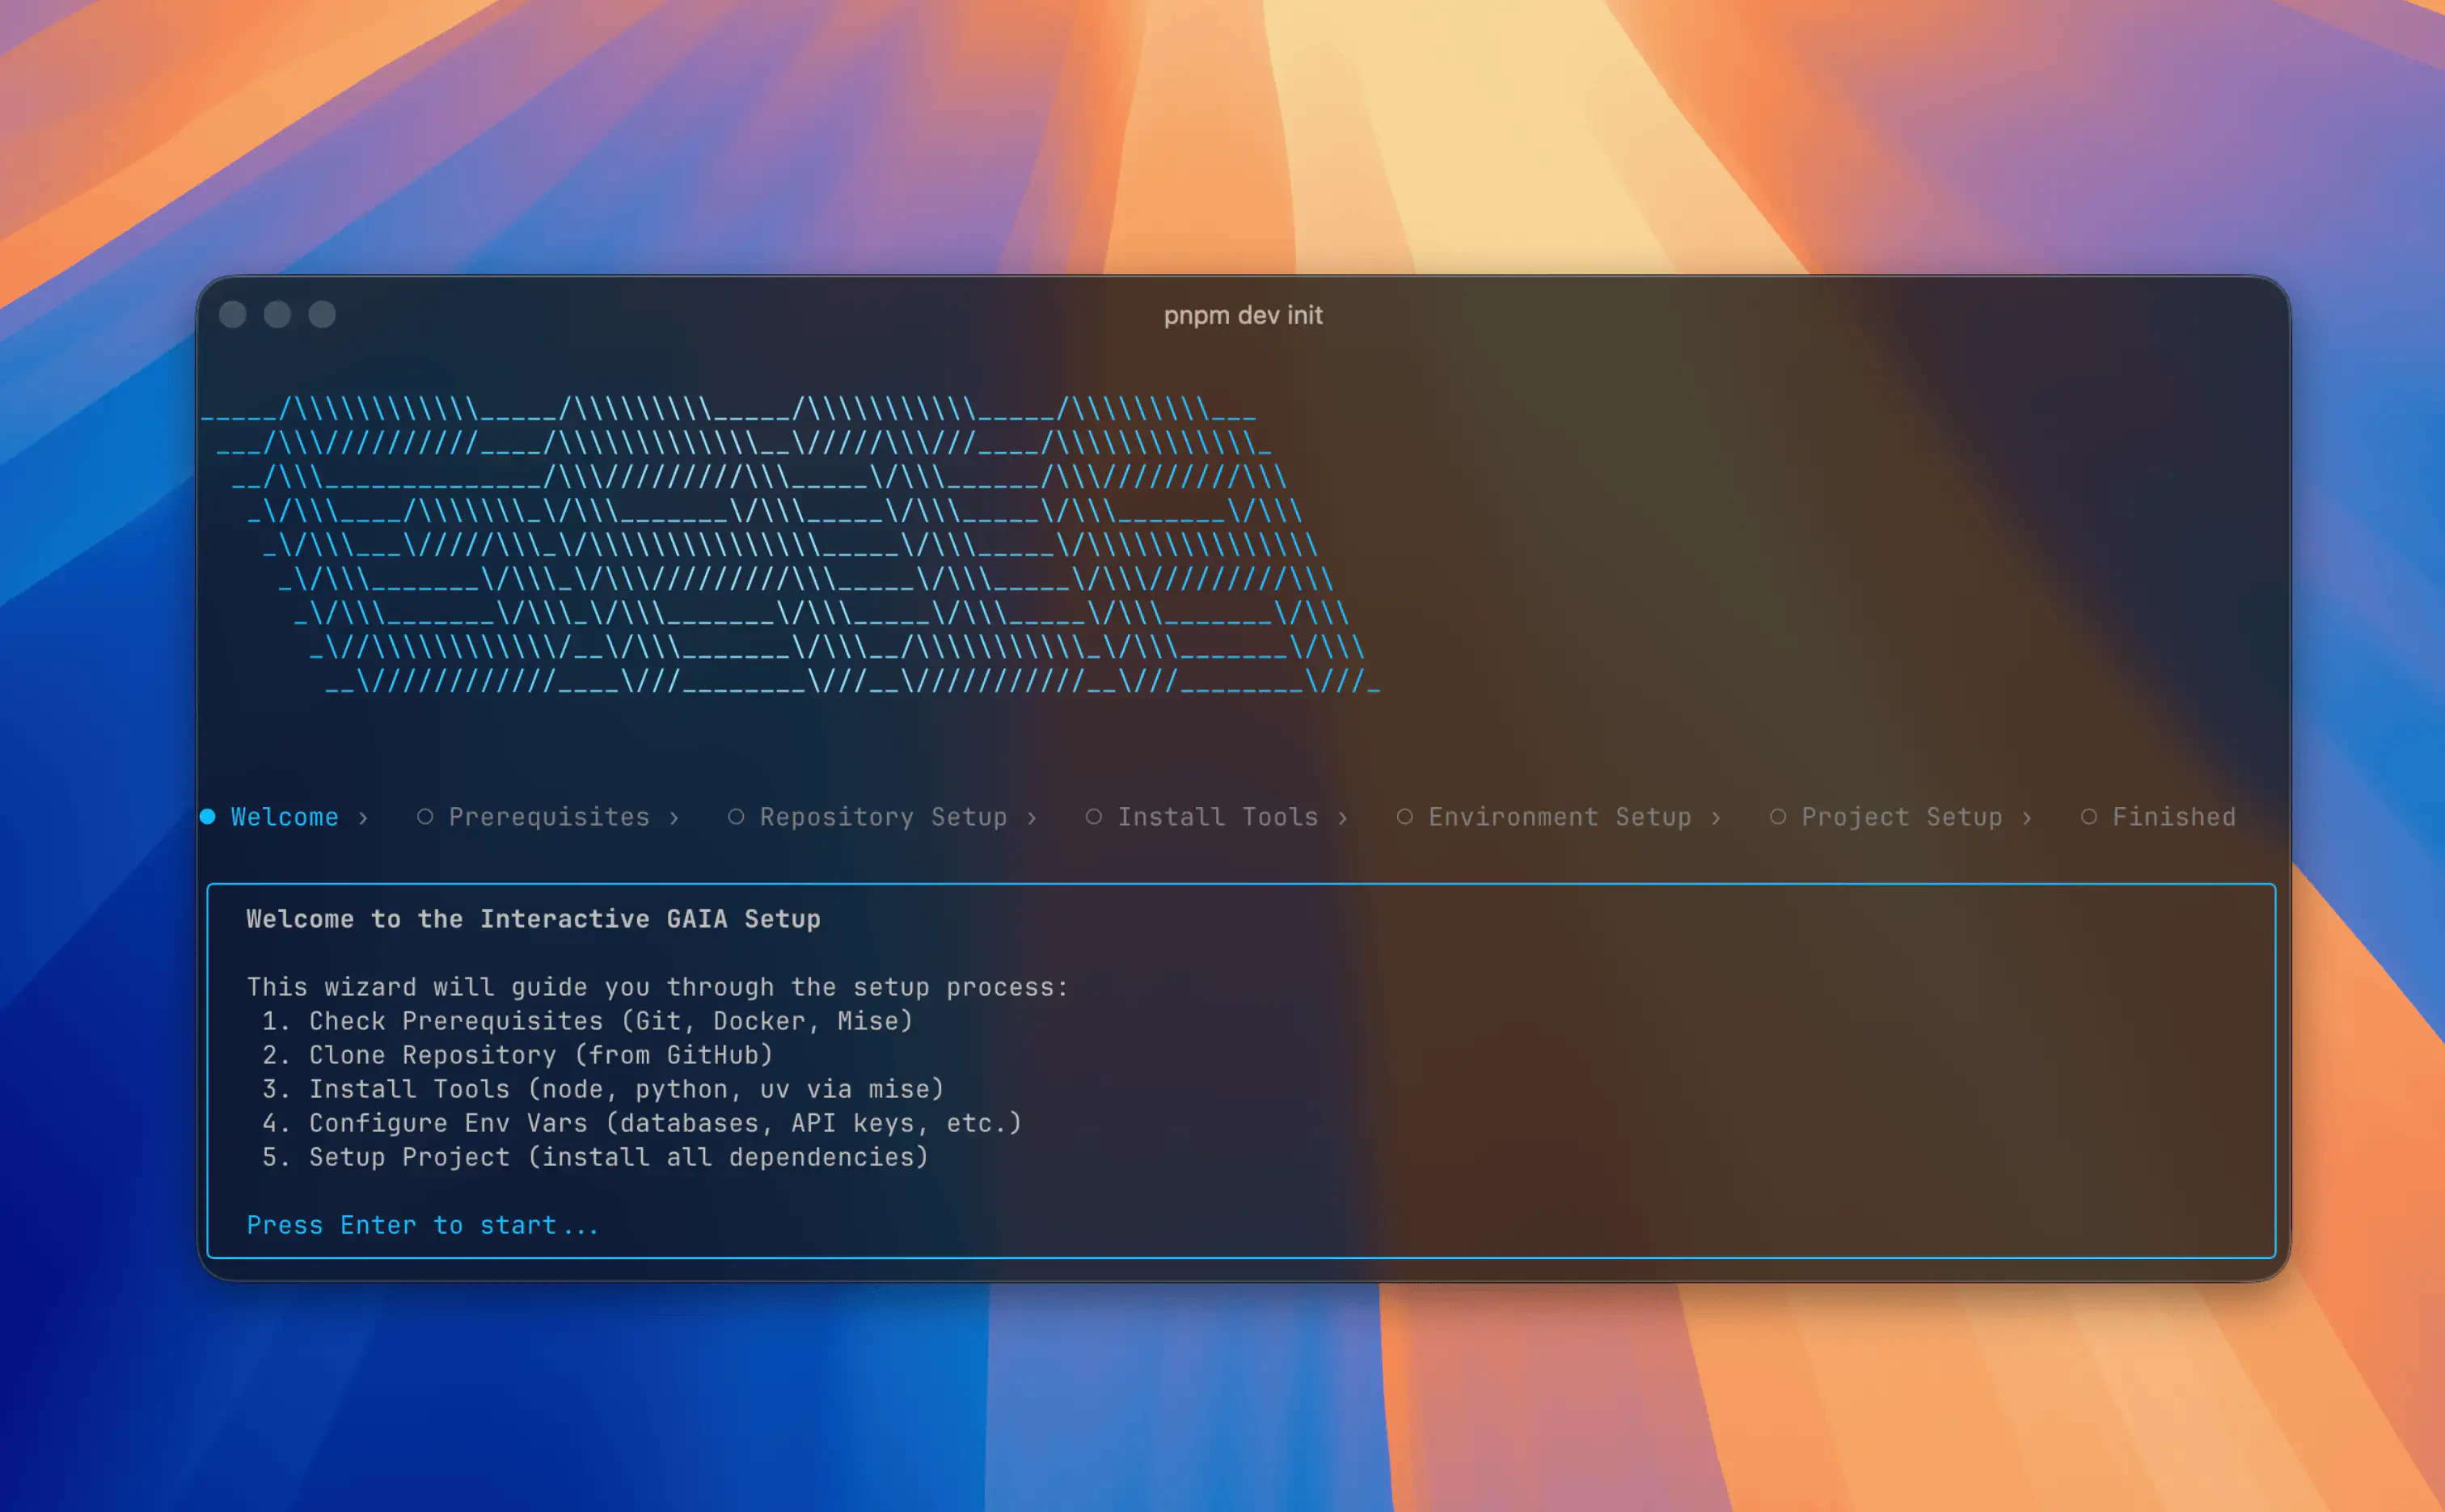
First-Time Setup
Set up GAIA from scratch using the CLI wizard